반응형
OPEN SSH 키 생성
JSCH API를 이용해 공개키와 개인키를 생성하고 생성 키를 이용해 Putty 자동 로그인해보자
준비
JSCH : jsch-0.1.55.jar
다운로드 : http://www.jcraft.com/jsch/
전체 소스보기
https://gist.github.com/innovatorCho/1eaf3f89c530e011a1c241c4817f6289
1. ssh key 생성 함수 만들기
/*
 * 키생성
 * */
private Map<String, String> sshKeypairToJsh() throws Exception{
Map<String, String> map = new HashMap<String, String>();

ByteArrayOutputStream bytePrivateKey = new ByteArrayOutputStream();// 개인키
ByteArrayOutputStream bytePublicKey = new ByteArrayOutputStream();// 공개키

JSch jsch = new JSch();
String comment = "";

com.jcraft.jsch.KeyPair kpair = com.jcraft.jsch.KeyPair.genKeyPair(jsch, KEY_TYPE, KEY_SIZE);
kpair.writePrivateKey(bytePrivateKey);
kpair.writePublicKey(bytePublicKey, comment);

/*
 * 생성한 개인키와 공개키를 Map으로 저장
 * */
map.put("PRIV_KEY", bytePrivateKey.toString());
map.put("PUB_KEY", bytePublicKey.toString());

kpair.dispose();

return map;
}
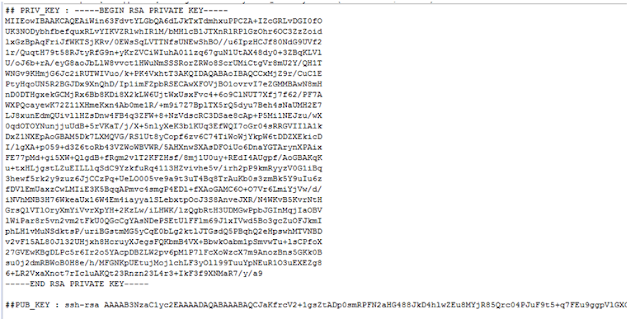
키는 다음과 같이 생성됨
키 생성이 확인되었다면 다음 단계
2. ssh key 파일 생성 하기
- 지정한 파일명으로 공개키와 개인키가 생성됨
/*
 * 키 파일 저장
 * */
private boolean createSshKeyFileJsch(String filePath, String privateKeyString) {
boolean isCreate = true;
File file = new File(filePath);
try {
FileOutputStream fos = new FileOutputStream(file);

ByteArrayOutputStream bPriv = new ByteArrayOutputStream();
DataOutputStream dos = new DataOutputStream(bPriv);
dos.write(privateKeyString.getBytes());

bPriv.close();
bPriv.flush();

fos.write(bPriv.toByteArray());
fos.flush();
} catch (FileNotFoundException e) {
// TODO Auto-generated catch block
e.printStackTrace();
isCreate = false;
} catch (IOException e) {
// TODO Auto-generated catch block
e.printStackTrace();
isCreate = false;
} finally {
}

return isCreate;

}

생성된 키를 이용해 공개키를 서버에 설정하고 개인키를 이용해 서버에 접속이 가능하다
반응형